1. Python 가상 환경 설정
2. 셀레늄 설치 및 브라우저 설정
3. Google 이미지 크롤링 코드 작성

1. 파이썬 가상 환경 설정 -> ? 다른 버전의 Python은 다른 요구 사항을 가질 수 있습니다.
다양한 방법으로 여러 버전의 Python을 설치하고 필요에 따라 가져와서 사용합니다.
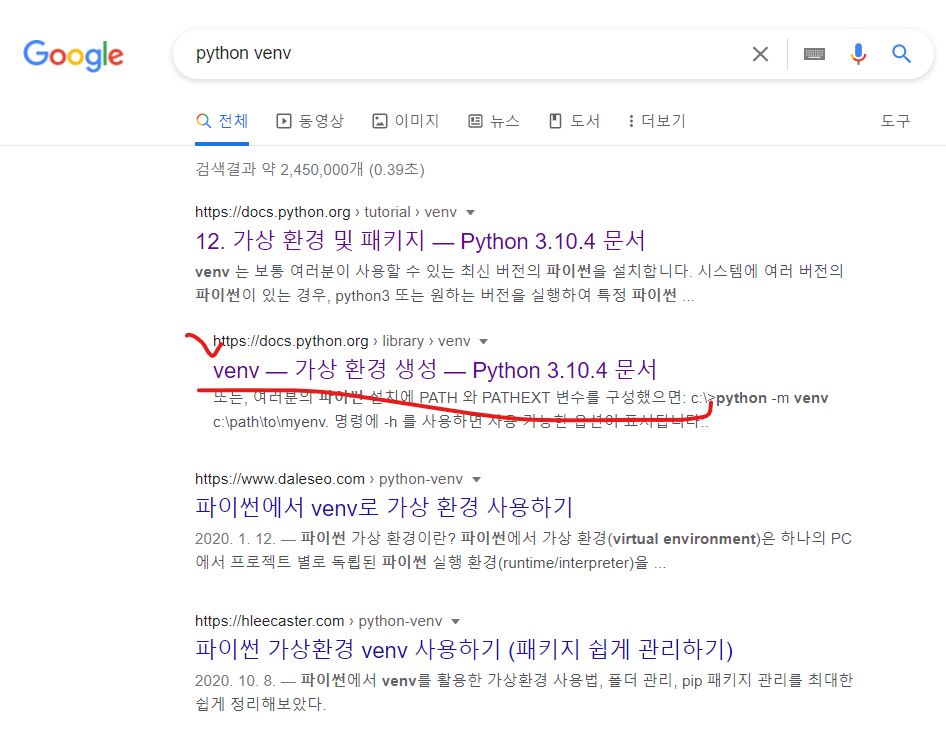
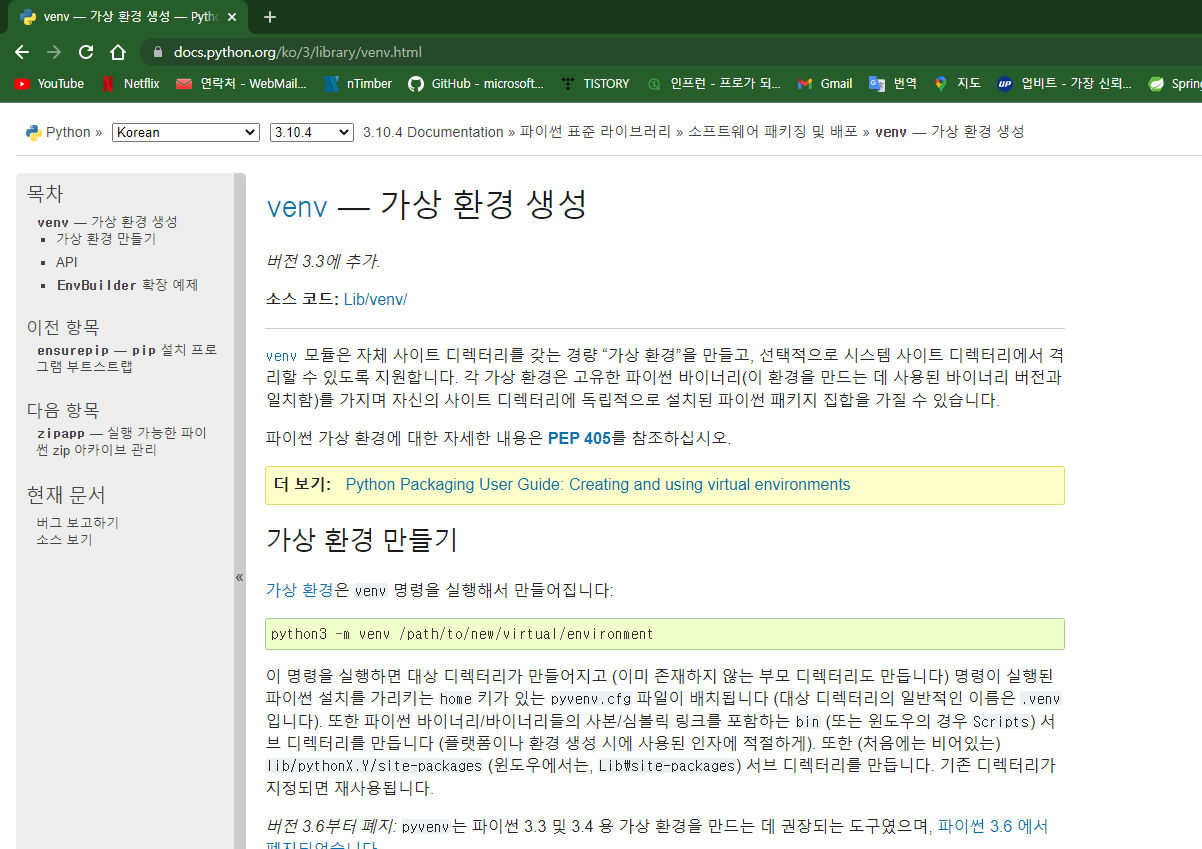
vev 사용
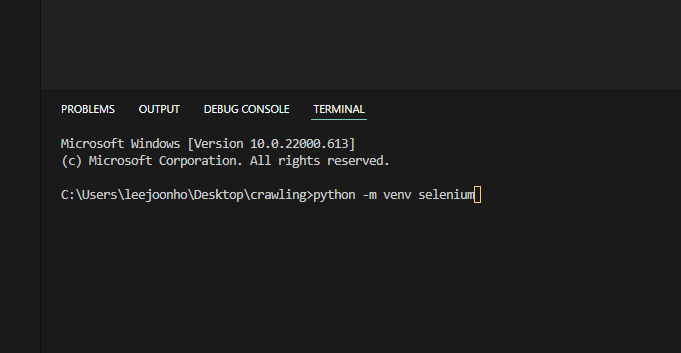
가상 환경이 생성됩니다.
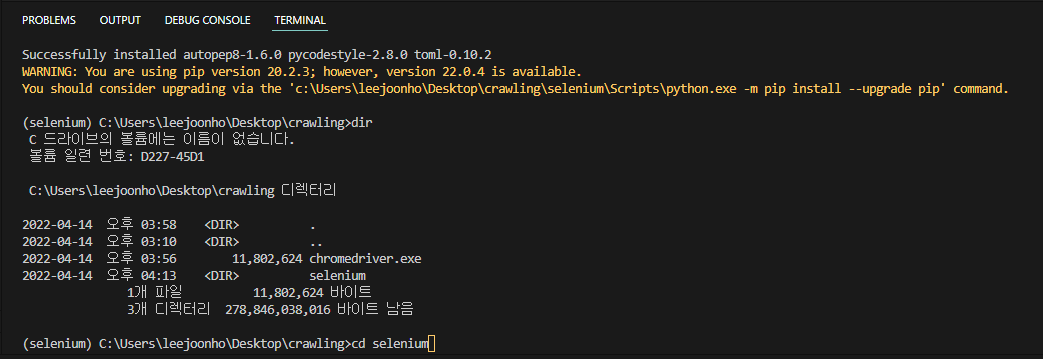
터미널 창에 명령 입력 -> 가상 환경으로 들어갑니다.
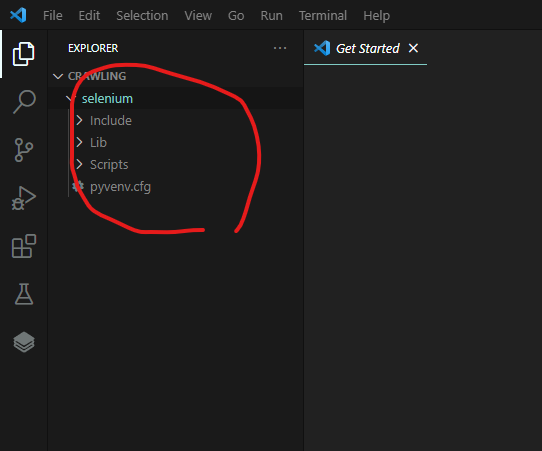
C:\Users\leejoonho\Desktop\crawling\selenium\Scripts 그리고 해당 루트 디렉토리로 이동
활성화 명령을 입력하여 활성화하십시오.
가상 환경이 활성화되면 (Selenium)이 생성됩니다.
(셀레늄) C:\Users\leejoonho\Desktop\crawling\selenium\Script>
pip install selenium 명령을 사용하여 가상 환경에 설치합니다.

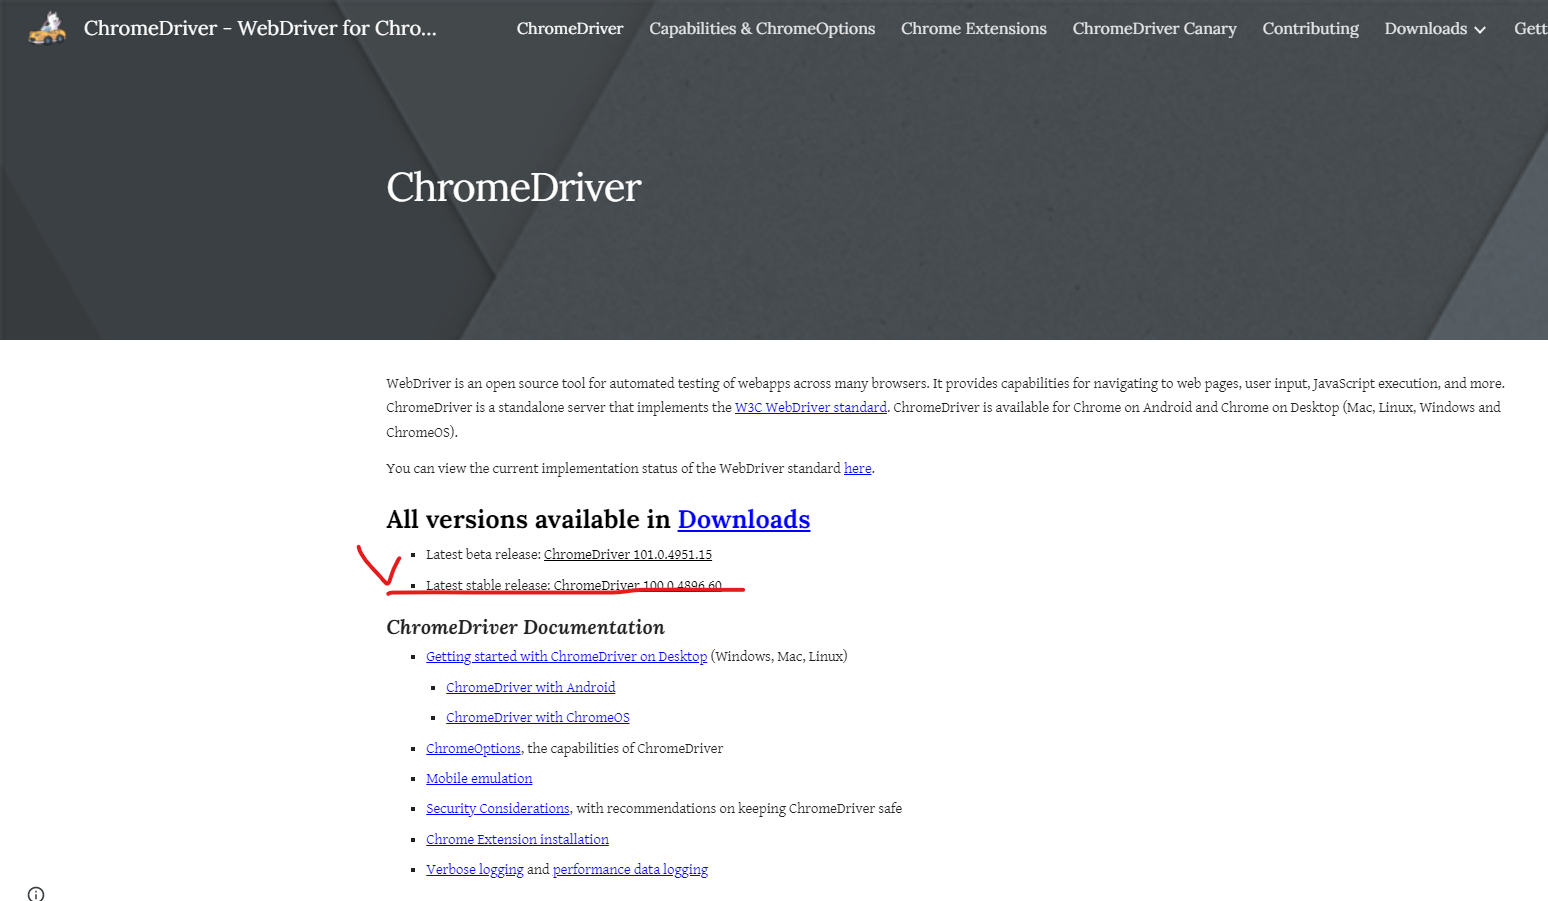
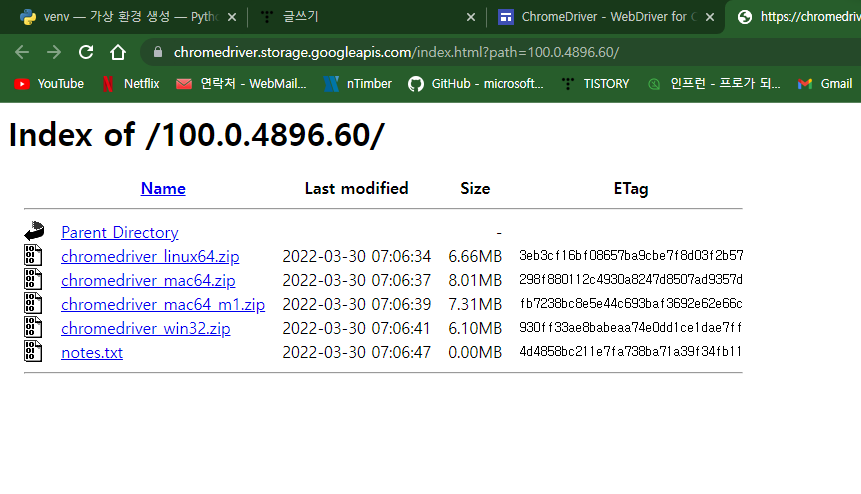
드라이브를 설치하기 전에 Chrome 버전을 확인하십시오.
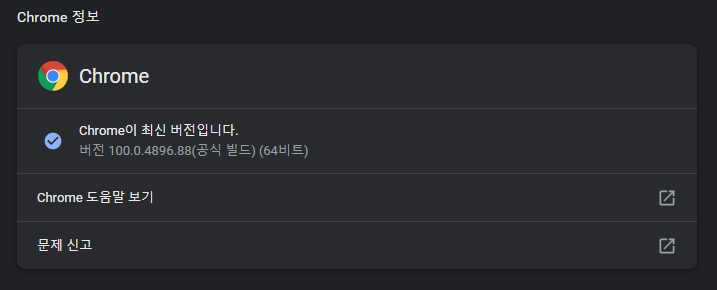

가장 가까운 버전을 설치하십시오.
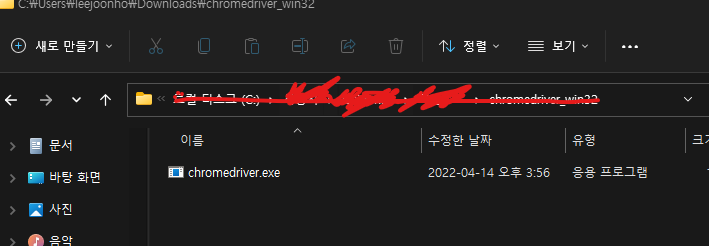
프로그램을 Visual Studio의 Selenium 가상 환경으로 끌어다 놓습니다.

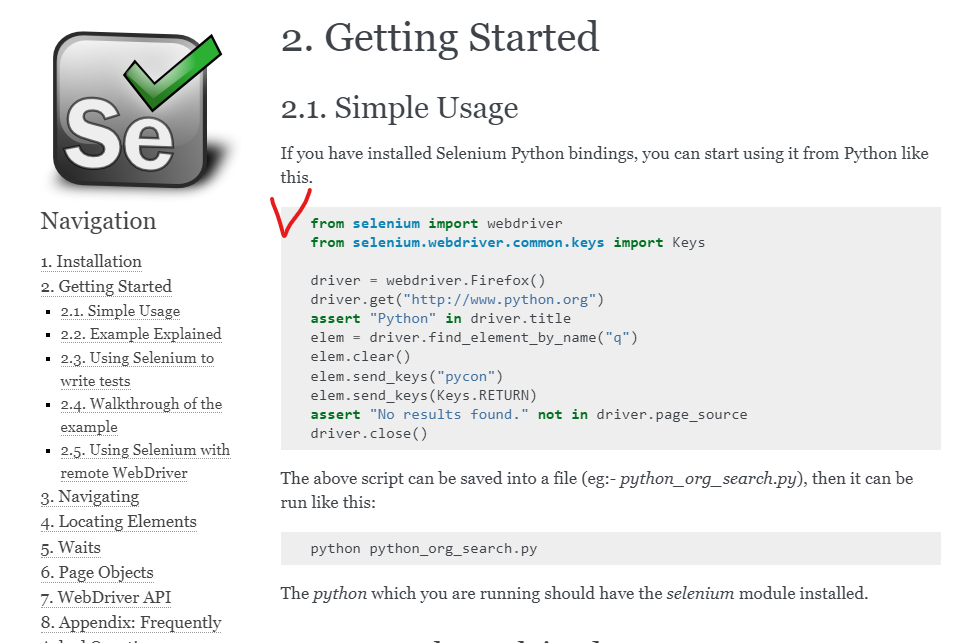
https://selenium-python.readthedocs.io/getting-started.html
2. 시작하기 – Selenium Python 바인딩 2 문서
2.2. 예제 설명 selenium.webdriver 모듈은 모든 WebDriver 구현을 제공합니다. 현재 지원되는 WebDriver 구현은 Firefox, Chrome, IE 및 Remote입니다. Keys 클래스는 RETURN, F1, ALT 등과 같은 키보드의 키를 제공합니다. 스스로
셀레늄-python.readthedocs.io

코드 이동 -> 가져오기 부분에 오류가 있는 경우 Python 버전이 Selenium인지 확인합니다.

아래 댓글
driver = webdriver.Firefox()Chrome()으로 변경합니다.
이제 코드를 다시 살펴보겠습니다.
웹 페이지에서 요소를 찾는 코드입니다.
elem = driver.find_element_by_name("q") # 검색탕의 검색엔진을 찾는 코드이 명령은 이름(“q”)이 있는 요소를 호출합니다.
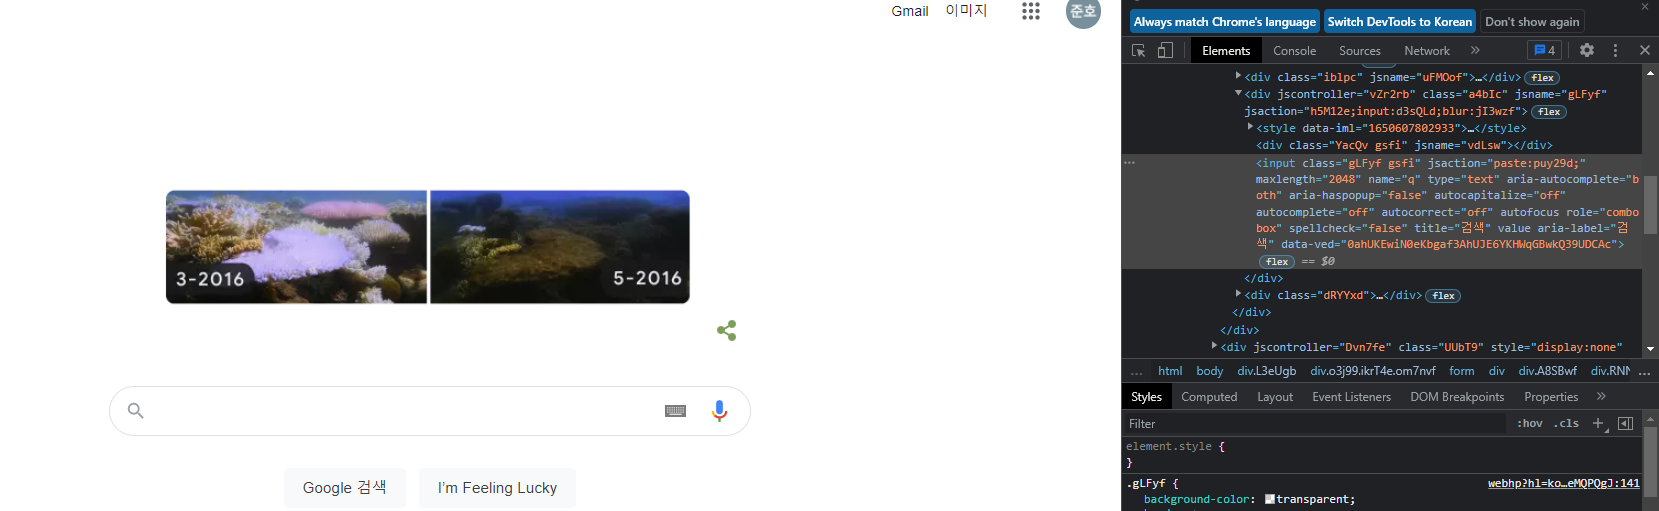
키보드에서 F12를 눌러 개발자 모드를 활성화합니다.

빨간색 체크 표시를 클릭하면 웹 페이지의 각 부분에 대한 코드를 검토할 수 있습니다.
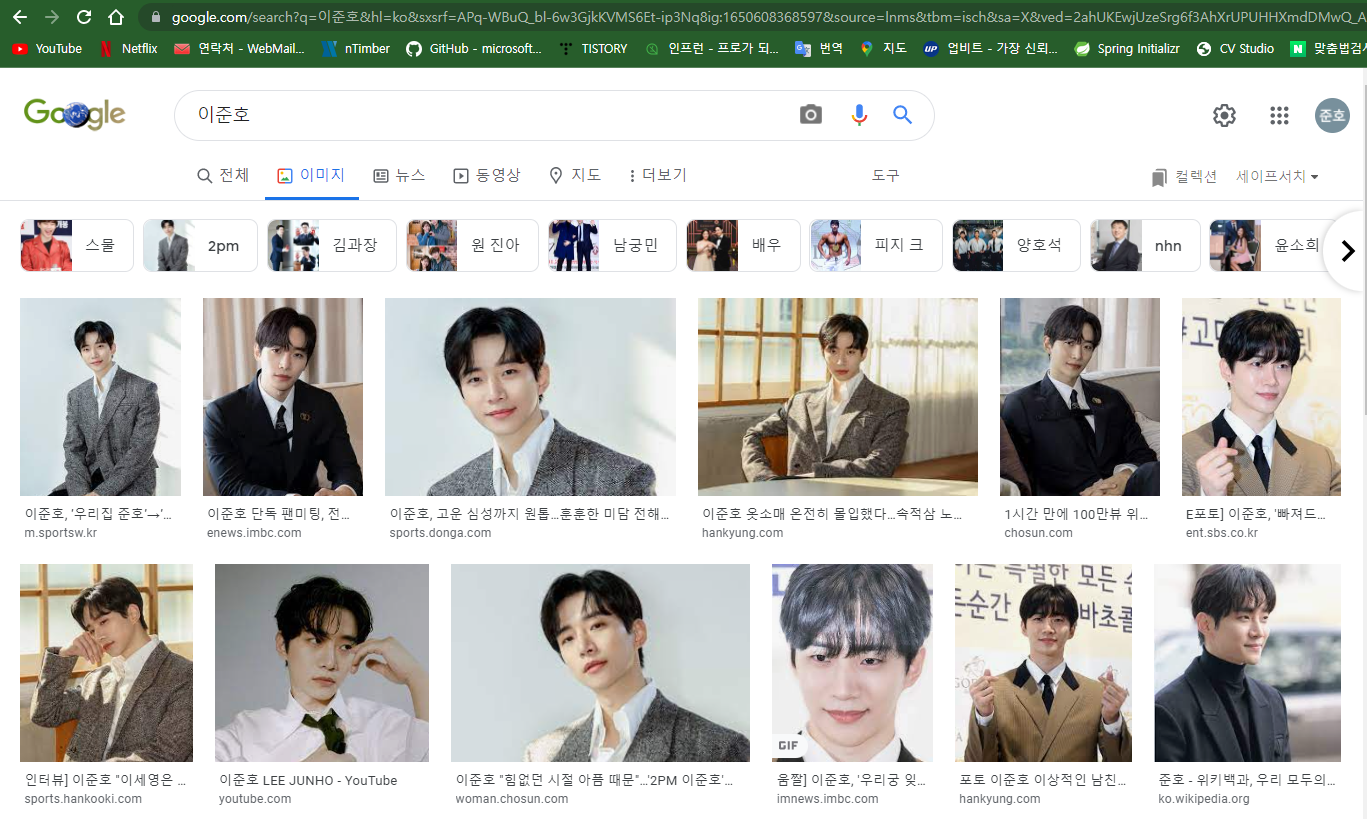
name=”q”는 구글 검색엔진이므로 위와 같이 코딩하면 해당 부분을 얻을 수 있다.
운전사. find_ element_ …… 다른 문법이 있습니다.
모든 요소로 호출할 수 있습니다.
요소 = 검색 필드
elem.clear()-> 검색 필드를 한 번 지웁니다.
elem.send_keys(keyword)-> 원하는 키워드를 입력합니다.
elem.send_keys(keys.RETURN) -> 입력한 검색어로 검색(엔터키)
위의 코딩이 완료되어 실행되면 자동으로 실행됩니다.
작동합니다.
한 번에 여러 이미지 크롤링
웹사이트 검색 화면을 끝까지 스크롤해야 합니다.

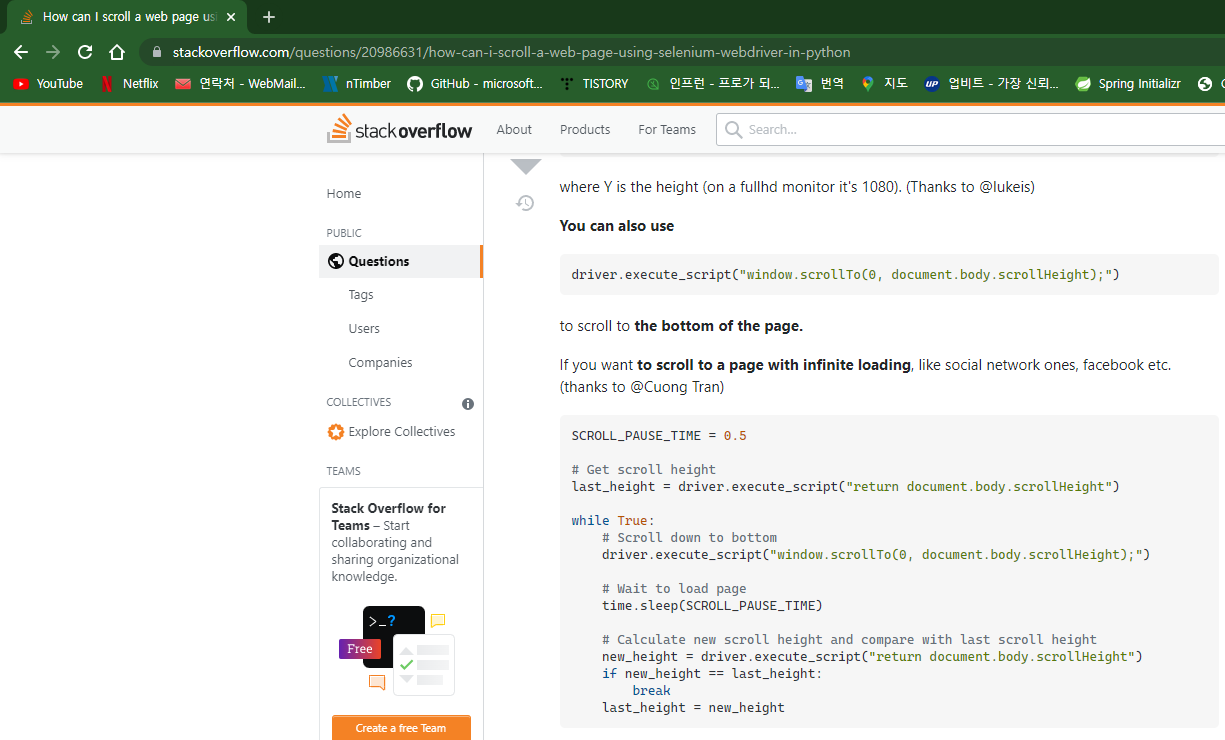
SCROLL_PAUSE_TIME = 0.5

# Get scroll height
last_height = driver.execute_script("return document.body.scrollHeight")

while True:
    # Scroll down to bottom
    driver.execute_script("window.scrollTo(0, document.body.scrollHeight);")

    # Wait to load page
    time.sleep(SCROLL_PAUSE_TIME)

    # Calculate new scroll height and compare with last scroll height
    new_height = driver.execute_script("return document.body.scrollHeight")
    if new_height == last_height:
        break
    last_height = new_height
이 코드를 사용하십시오.

자동으로 화면을 끝까지 내립니다.

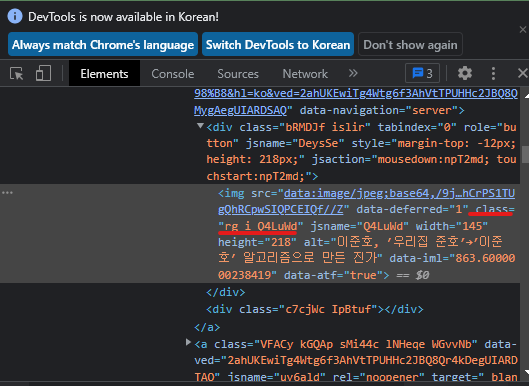
이렇게 검색된 이미지의 코드를 보면
작은 그림 수업 rg_i Q4LuWd로 모두 같은 것을 확인할 수 있습니다.
작은 이미지들이 모두 클릭되도록 코드를 작성하면,
driver.find_elements_by_css_selector(".rg_i.Q4LuWd").click()
구문 find_element_by_css_selector를 사용하여 해당 클래스 이미지를 클릭할 수 있습니다.
그런 다음 이미지를 다운로드하려면 소스를 알아야 합니다.

검색해보니 나오더군요.

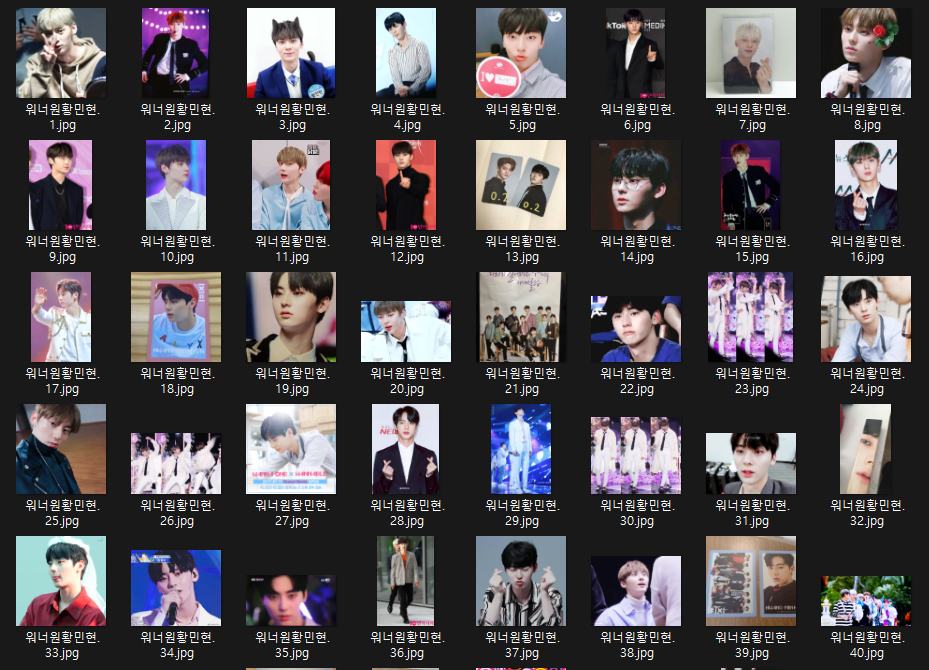
이렇게 코딩했는데, 일단 검색어당 100개의 이미지만 다운로드 됩니다.
이미지를 클릭하고 3초를 기다린 후 find_element_by_xpath 구문으로 xpath 경로를 찾아 경로를 수신했습니다.

import urllib.request
f = open('00000001.jpg','wb')
f.write(urllib.request.urlopen('http://www.gunnerkrigg.com//comics/00000001.jpg').read())
f.close()
그냥 가져가서 사용하세요.

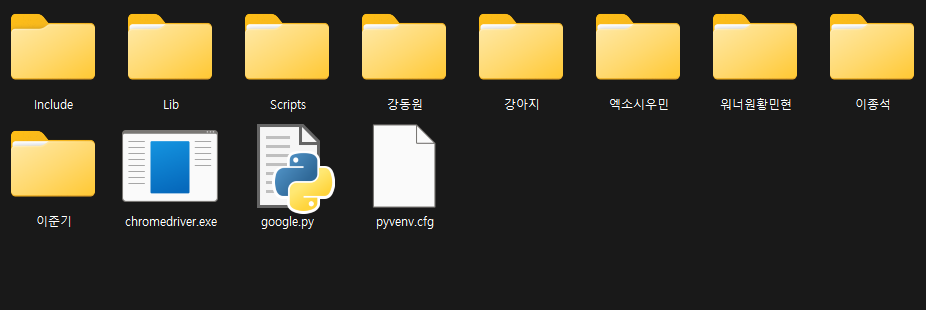
검색어에 대한 폴더를 만들고 적당한 경로에 100개의 이미지가 저장되도록 코딩했습니다.
그리고 반복문을 통해 여러 검색어를 한번에 입력한 후,
여러 검색어 이미지 100개를 자동으로 다운로드 받을 수 있도록 추가 코딩을 했습니다.
from re import I
from selenium import webdriver
from selenium.webdriver.common.keys import Keys
import time
import urllib.request
import os
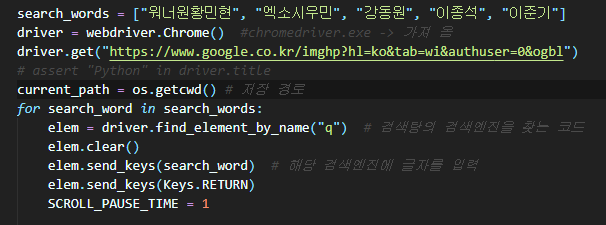
search_words = ("워너원황민현", "엑소시우민", "강동원", "이종석", "이준기")
driver = webdriver.Chrome() #chromedriver.exe -> 가져 옴
driver.get("https://www.google.co.kr/imghp?hl=ko&tab=wi&authuser=0&ogbl")
# assert "Python" in driver.title
current_path = os.getcwd() # 저장 경로
for search_word in search_words:
elem = driver.find_element_by_name("q") # 검색탕의 검색엔진을 찾는 코드
elem.clear()
elem.send_keys(search_word) # 해당 검색엔진에 글자를 입력
elem.send_keys(Keys.RETURN)
SCROLL_PAUSE_TIME = 1
# Get scroll height
last_height = driver.execute_script(
"return document.body.scrollHeight") #브라우져 높이를 확인 가능(자바스크립트)
while True:
# Scroll down to bottom
driver.execute_script("window.scrollTo(0, document.body.scrollHeight);"
) # 브라우져 끝까지 스크롤을 내리겠다.
# Wait to load page
time.sleep(SCROLL_PAUSE_TIME) # 페이지 로딩 될 동안 웨잇
# Calculate new scroll height and compare with last scroll height
new_height = driver.execute_script("return document.body.scrollHeight")
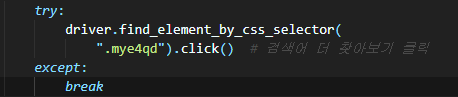
if new_height == last_height: # 스크롤이 끝까지 내려가서 더이상 내릴 것이 없을 때
try:
driver.find_element_by_css_selector(
".mye4qd").click() # 검색어 더 찾아보기 클릭
except:
break
last_height = new_height
images = driver.find_elements_by_css_selector(".rg_i.Q4LuWd")
folder_name = search_word
#해당 이미지 이름과 동일한 폴더 생성
if not os.path.isdir(folder_name): # 없으면 새로 생성하는 조건문
os.mkdir(folder_name)
count = 1
for image in images:
if count > 100:
break
try:
image.click()
time.sleep(3)
imgUrl = driver.find_element_by_xpath(
"/html/body/div(2)/c-wiz/div(3)/div(2)/div(3)/div/div/div(3)/div(2)/c-wiz/div/div(1)/div(1)/div(2)/div/a/img").get_attribute("src")
urllib.request.urlretrieve(
imgUrl,
folder_name + "/" + search_word + "." + str(count) + ".jpg")
count = count + 1
except:
pass
driver.back()
driver.close()dirver.back()이 이전 페이지로 돌아가도록 합니다.
다시 검색창을 정리한 후 다음 검색어를 다운로드 하는 방식입니다.